Installation
This guide outlines the steps to purchase, install, and prepare CentralQ Chat in Business Central, ensuring a smooth deployment for your team.
Purchase the App from AppSource
-
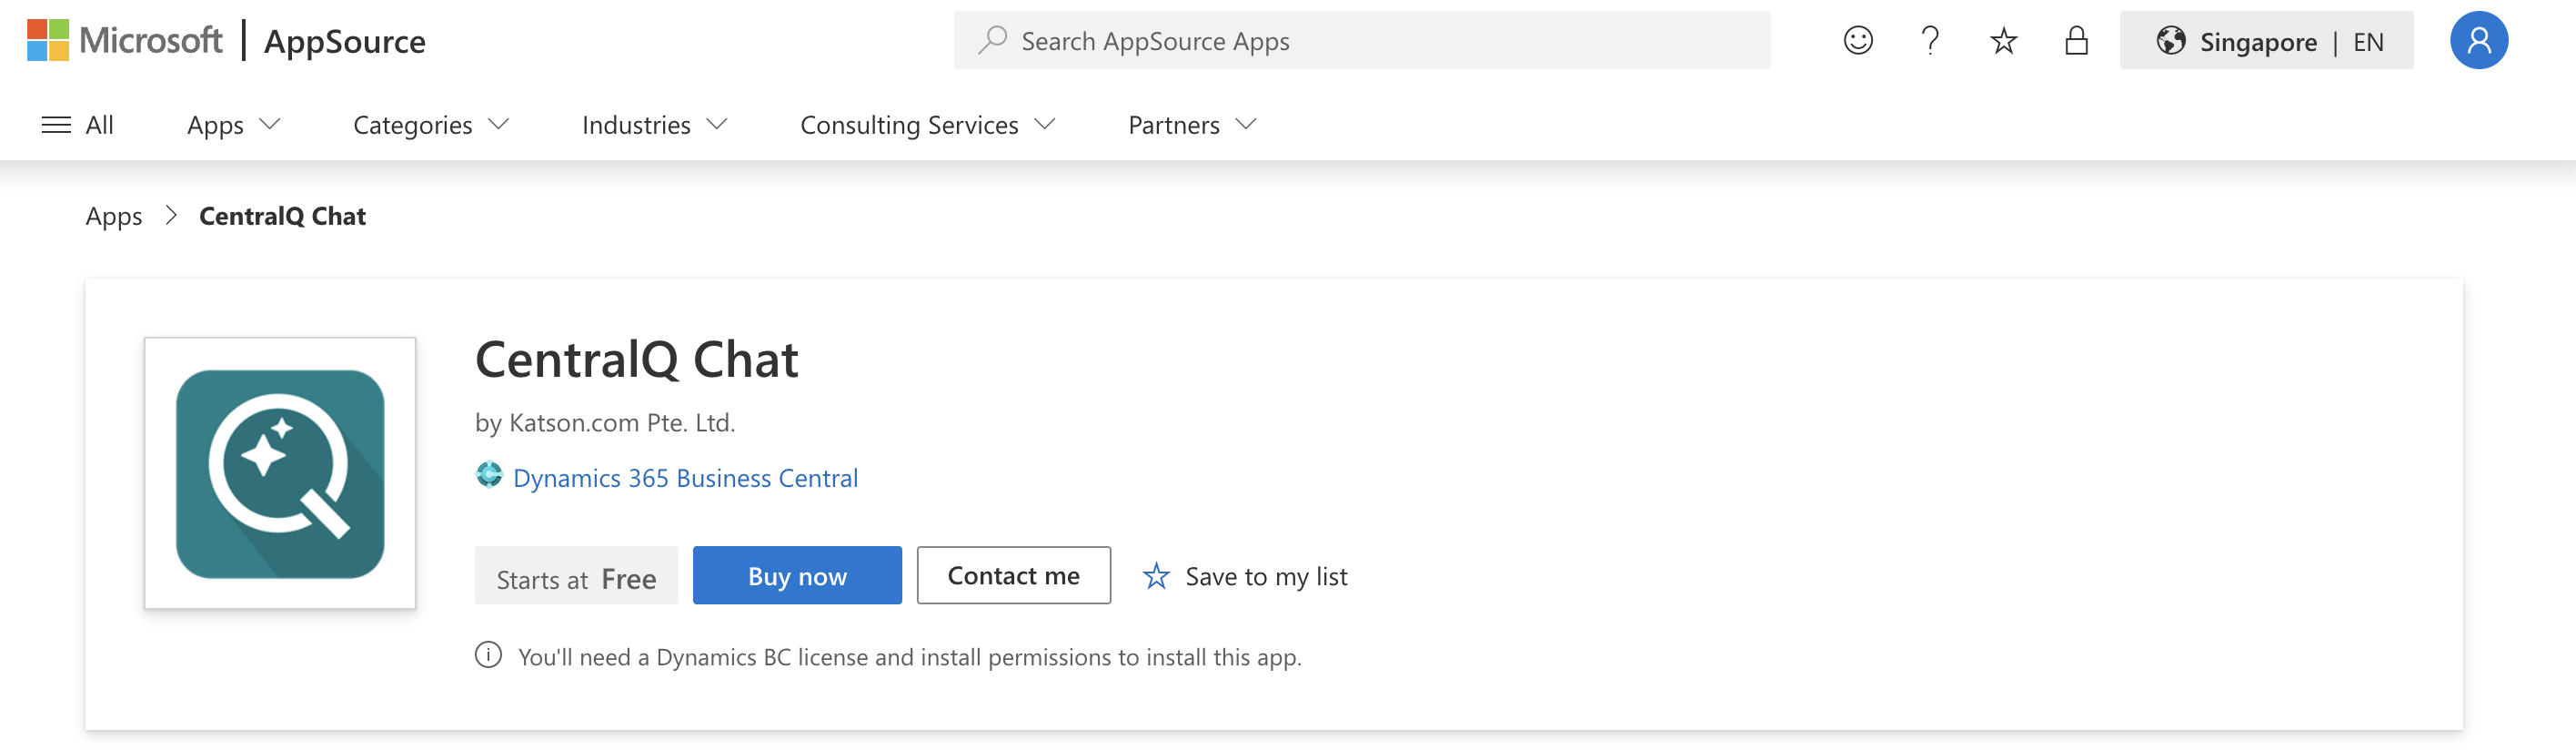
Finding and Purchasing: Navigate to the CentralQ Chat page
-
Start Free Trial: Select "Buy now" on the Product Details page.
-
Complete the Purchase: Follow the onscreen instructions. For detailed steps, visit Purchasing on AppSource.
Assign Licenses
After purchasing, assign licenses to users through the Microsoft 365 admin center. For instructions, see Assigning Licenses to Users.
Extension Installation
Note
Ensure that licenses are assigned to users before installing CentralQ Chat in Business Central.
- Navigate to Extensions: Go to the Extensions page in Business Central.
- Access Marketplace: Select "Extension Marketplace" to open Microsoft AppSource.
- Search for CentralQ Chat: Enter "CentralQ Chat" in the search bar.
- Install: Click "Free Trial" to initiate installation. Choose your language and select "Install".
- Verify Installation: Check the Extensions page to confirm that CentralQ Chat is listed.
Or use the Install this product from the Microsoft 365 Admin Center > Licenses > CentralQ Chat - Professional
Assign Permissions
Assign appropriate permissions to users:
| Permission Set | Description |
|---|---|
| GPT CQC - ADMIN | Allows configuring the app, registering for CentralQ cloud, uploading private documents, and accessing chat functionality. |
| GPT CQC - Setup | Allows Azure Local D365 Admin and Azure Local Global Administrator to set up CentralQ Chat without requiring a license. Includes setup pages access and basic execution permissions. |
| GPT CQC - KB ADMIN | Enables uploading private documents and accessing chat functionality. |
| GPT CQC - USER | Grants access to the chat functionality and allows viewing the private knowledge list |
Next Steps
- ⚙️ Configuration: Configure the app to fit your specific requirements.
- 📚 Knowledgebase: Learn how to build and customize your knowledge base.
- 💬 Chat: Start using the chat interface and get answers to your Business Central questions.
- 📊 Data Insights Agent: Explore Business Central data using natural language queries.